Your cart is currently empty!
How to Assemble Printable Photo Booth Props

Photo booth props are a fun and easy way to add that extra spunk to your event. Read on to find out just how simple it is to assemble printable photo booth props.
Printable props are available for nearly every occasion and are typically unique and available only from the designer who created them. Assembly requires just a few supplies and is easy enough for an experienced or newbie DIYer.
How to Assemble Printable Photo Booth Props

SUPPLIES
+ Photo booth props digital file
+ 8.5″ x 11″ White Cardstock
+ Scissors
+ Sticks for prop handles
+ Tape or Glue
STEP 1: PRINT & CUT

+ Using Adobe Reader, print photo props on cardstock. For printing help, click here.
+ Grab scissors, turn on your favorite show, and cut out individual pieces.
*note: for inside pieces, sometimes it’s easier to use a craft knife.
STEP 2: ADHERE PROPS TO STICKS

+ There are many options for adhering your prop to a stick. Use whatever works best for you, or whatever you already have on hand. Some ideas are tape (scotch, masking, frog or painters), adhesive labels, glue dots, or a glue gun.
+ Options for prop handles are treat sticks, dowels or paper straws. Click here for more choices.
STEP 3: RELAX, ENJOY YOUR EVENT, AND SMILE

Watch this quick video on how simple it really is ↓
Want an easy way to find this post later? Pin It

#snapsmadefun
Follow us
Download ➤ Print ➤ Create ➤ Enjoy!
Latest Posts
-
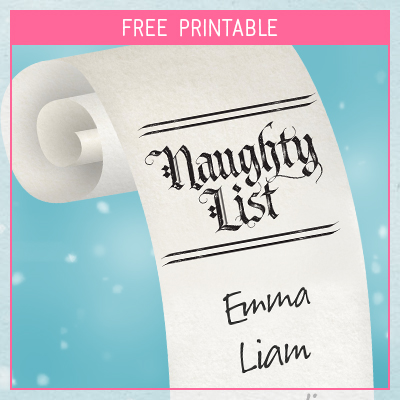
2021 Naughty List Free Printable
Did you make the Naughty List this year? Print Santa’s 2021 Naughty List and display…
-
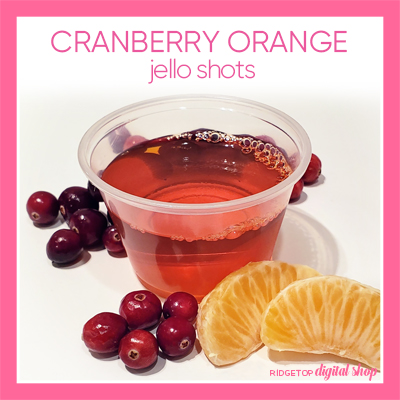
Cranberry Orange Jello Shot Recipe
Hosting an autumn event? These Cranberry Orange Jello Shots will definitely be a crowd pleaser.…
-
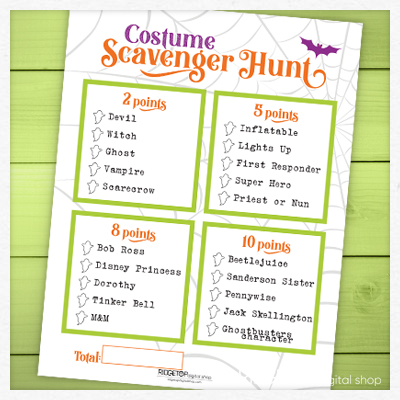
Halloween Costume Scavenger Hunt Free Printable
Heading out on Halloween night? Print this sheet to add a costume scavenger hunt to…

Ridgetop Digital Shop is a participant in the Amazon Services LLC Associates Program. We will make a small commission if you buy any products that have been linked to on this blog.
Leave a Reply